Hi Ms. Angel,
Hope you are well. You did my triangle piercing last year in Philly and I'd like to remove it for a few hours. Do you think it would be a problem to put it back in? BTW, I love it!
My reply:
Hi.
There's a chance if you remove it you won't be able to reinsert it. On some women, this can happen instantaneously with triangle piercings, because of the way I manipulate the clitoral shaft to rest in front of the jewelry. There's a possibility it could slip back and block the channel even if the piercing is well established. I've had some very distressed clients who found out the hard way that it just couldn't be reinserted, even after the briefest removal.
Since you love it, maybe you can avoid taking it out?
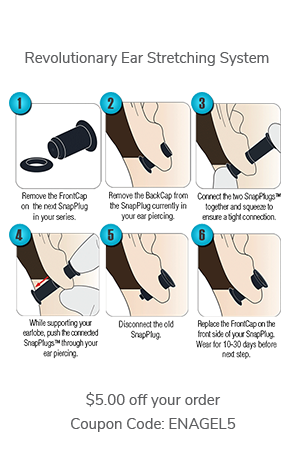
Or, at the very least, I'd strongly suggest you get an insertion taper before you do so. That can help you to reinsert it with less difficulty or trauma. You can get them here:
http://www.bodycircle.com/index.php/tools-and-aftercare/insertion-tapers.html
I'd suggest the one for threaded jewelry in the 12 gauge (which is the most common size I use and should be what you're wearing unless we discussed some other size, or you have stretched up since I pierced you).
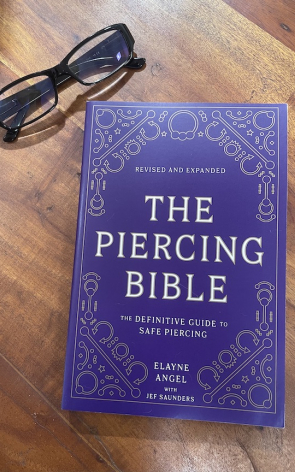
Information that will be very helpful to you is located in Chapter 17 of my book, The Piercing Bible. Here's a brief excerpt that should prove useful if you decide to do any jewelry changes (or try out brief removal):
Insertion Tapers for Jewelry Changes
If you are a novice and you wish to swap out your own jewelry, an insertion taper is invaluable to keep the channel open and avoid excess trauma. Its tapered shape helps to slide the existing ornament out and ease the new one into place.
A taper that does not correspond to the gauge and style of the jewelry you are putting in can be worse than not having one at all. Internally threaded jewelry uses a pin-coupling taper (the back end is formed into pin that fits into the hole tapped in the jewelry) or a threaded-pin taper (the back end screws into the jewelry). Fixed-bead rings, captive bead rings, and most externally threaded jewelry use a concave taper (the concave back end of the taper connects with the convex end of the jewelry). See “Insertion Tapers,” page 63. To avoid an unpleasant surprise, check the fit of your taper with your new jewelry before removing what you’re wearing.
If you feel confident that you can follow the old jewelry with the new (and you are not stretching up), then the taper is not required. But, if your old jewelry comes out before the new piece passes through, finding the hole can be harder than you think. Trying to shove jewelry through a channel that has shrunk is not only painful, but it is also traumatic to the tissue, especially for a recently healed piercing.
Jewelry Change Procedure
I’ve had many a piercee show me an inflamed or empty piercing and recount a painful tale of trying to change jewelry at home for “over an hour.” When properly handled, the procedure should take only a few moments. Learning what to do and using the correct tools will ensure your comfort and safety.
• Prepare yourself: Swap out your jewelry after a shower when your skin is clean and the tissue is looser. Your hands must be clean and dry. You may find it easier to get a grip on the jewelry while wearing latex medical gloves, but a tight fit is key if they are to help rather than hinder.
• Prepare your work area: If you are near a sink, plug it carefully. Many pieces of small body jewelry have been lost down a drain.
• Assemble everything you will need for the process from beginning to end.
(There's lots more in the book!)


